Steps to Mount Solar Panels at Home
Introduction
Solar energy has become an attractive solution for homeowners looking to reduce their carbon footprint and save on energy bills. Installing solar panels at home is a worthwhile investment that can provide renewable energy for years to come. This article will guide you through the essential steps of setting up solar panels at your residence.
Advertisement
Evaluate Your Energy Needs
Before purchasing solar panels, assess your household's energy consumption. Look at past electricity bills to determine your average usage in kilowatt-hours (kWh). This will help you decide the size and number of panels required to meet your energy needs. Energy-efficient practices and appliances can further reduce the number of panels necessary.
Advertisement
Check Local Regulations
Investigate local regulations, permits, and codes that pertain to solar panel installations. Requirements might include zoning laws, building permits, or neighborhood guidelines. Obtaining the necessary permits before installation can prevent any legal hurdles or penalties in the future.
Advertisement
Select the Right Solar Panels
Choosing the perfect solar panels involves understanding different types like monocrystalline, polycrystalline, and thin-film. Each type offers distinct advantages in efficiency, cost, and durability. Consider factors such as roof space, energy needs, and budget when making your selection to ensure optimal performance from your solar system.
Advertisement
Plan the Installation Layout
Determine the best location for your solar panels, typically a south-facing roof for maximum sunlight absorption. Ensure the area is free from shading caused by trees or buildings. You may also want to consider a ground-mounted system if rooftop installation is not feasible. Proper layout planning can maximize your solar energy harvest.
Advertisement
Acquire the Necessary Materials
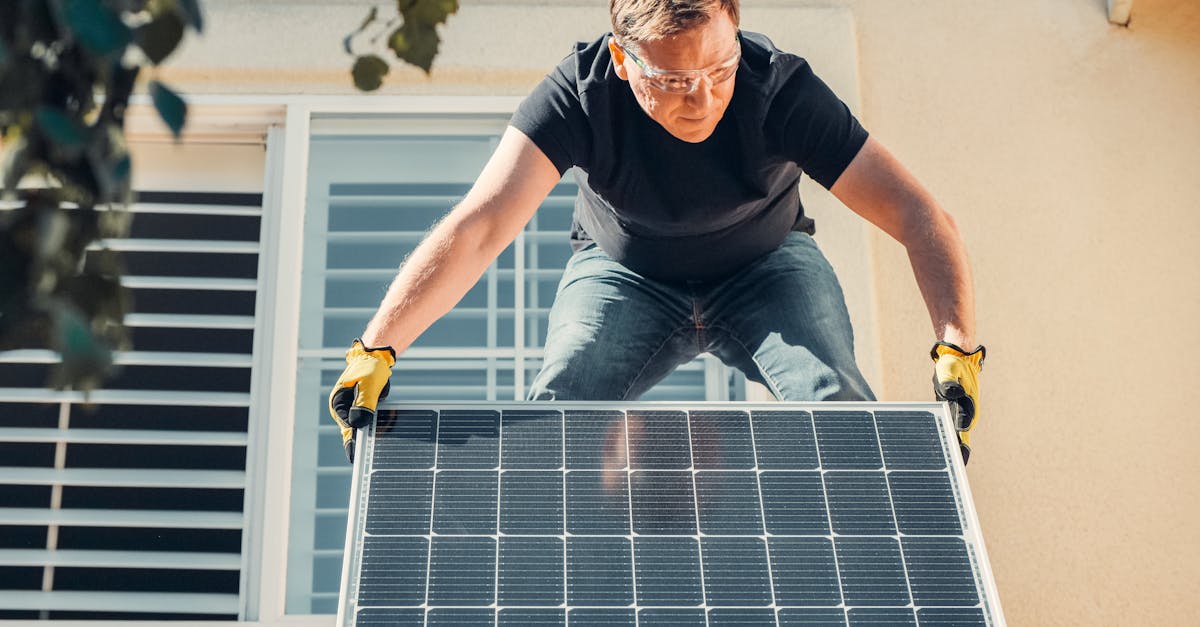
Besides the panels themselves, you'll need mounts, inverters, batteries (optional), and wiring. Ensure compatibility between these components, as they work together to convert sunlight into usable electricity. Don't forget safety gear, such as gloves and goggles, to protect yourself during installation.
Advertisement
Hire a Professional Installer (Optional)
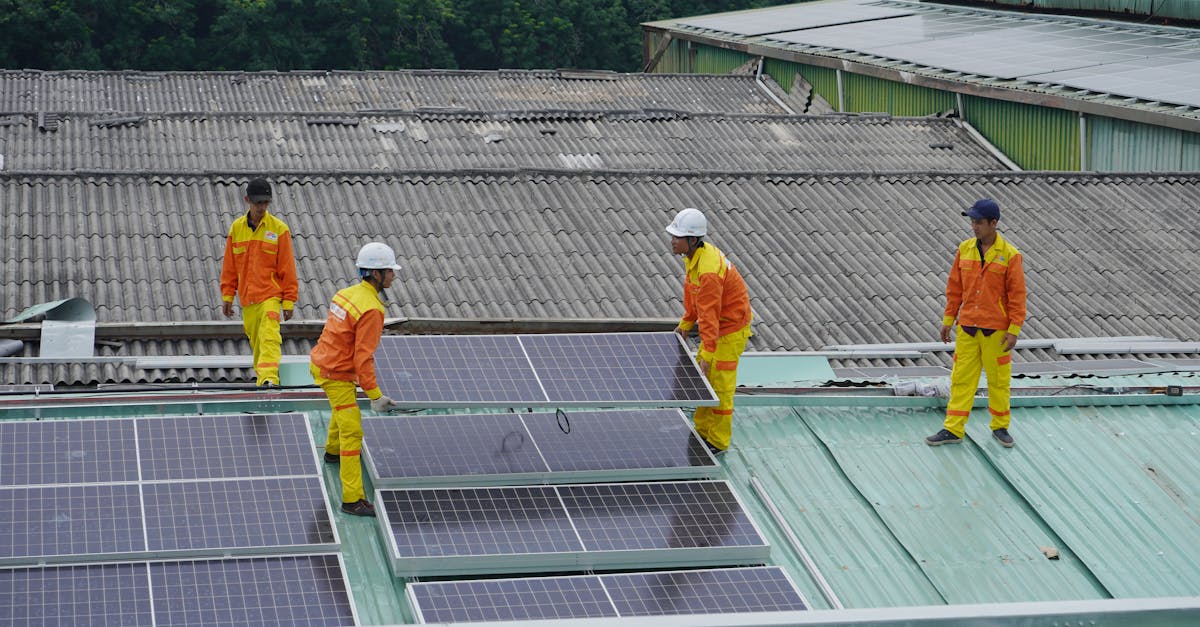
While a DIY installation is achievable, hiring a certified professional can ensure a safe and efficient process. An experienced installer can connect your panels to the main electrical grid and offer maintenance tips. Moreover, professional installation may enhance your system's warranty coverage.
Advertisement
Install the Mounting System
Start by securely fixing the mounting system to your roof or chosen location. This structure will hold the panels in place, avoiding wind damage or other structural issues. Ensure that mounts are properly grounded and aligned to capture the optimal sunlight angle throughout the year.
Advertisement
Wire the Solar System
Connect the panels to an inverter and, if applicable, a battery backup system. The inverter converts cumulative direct current (DC) from the panels into alternating current (AC) used for your home's appliances. Carefully follow wiring guidelines to ensure safety and efficiency in energy conversion.
Advertisement
Conclusion
Installing solar panels at home is a viable step towards sustainable living, offering environmental and financial benefits. By following each installation step, homeowners can successfully harness the power of the sun. Remember, if you're new to solar energy, consulting with professionals can provide additional peace of mind.
Advertisement


